
GETTING STARTED WITH YOUR CONCEALMENT LINER.
CONGRATULATIONS on getting your concealment liner from Concealment Labs! Please review the “Set Up Guide”.
WARNING: Our products are specifically designed for the concealed carry of firearms. Using it for purposes outside of its intended function may compromise safety, performance, and durability. Apply the provided thread locker to ensure that the screws do not back out while using the concealment liner.
Concealment Labs supports safe, responsible firearm ownership and use.
Before trimming any excess webbing from your concealment liner, please ensure you’re satisfied with the fit and length. We recommend leaving at least 6 inches of excess webbing for optimal adjustability and security. (Cutting your webbing too short may cause the webbing to easily come undone). To trim, simply cut straight across and seal the cut edges with a heat source, such as a lighter or torch, to prevent fraying.
Sizing Your Liner.
Adjusting Your Liner.
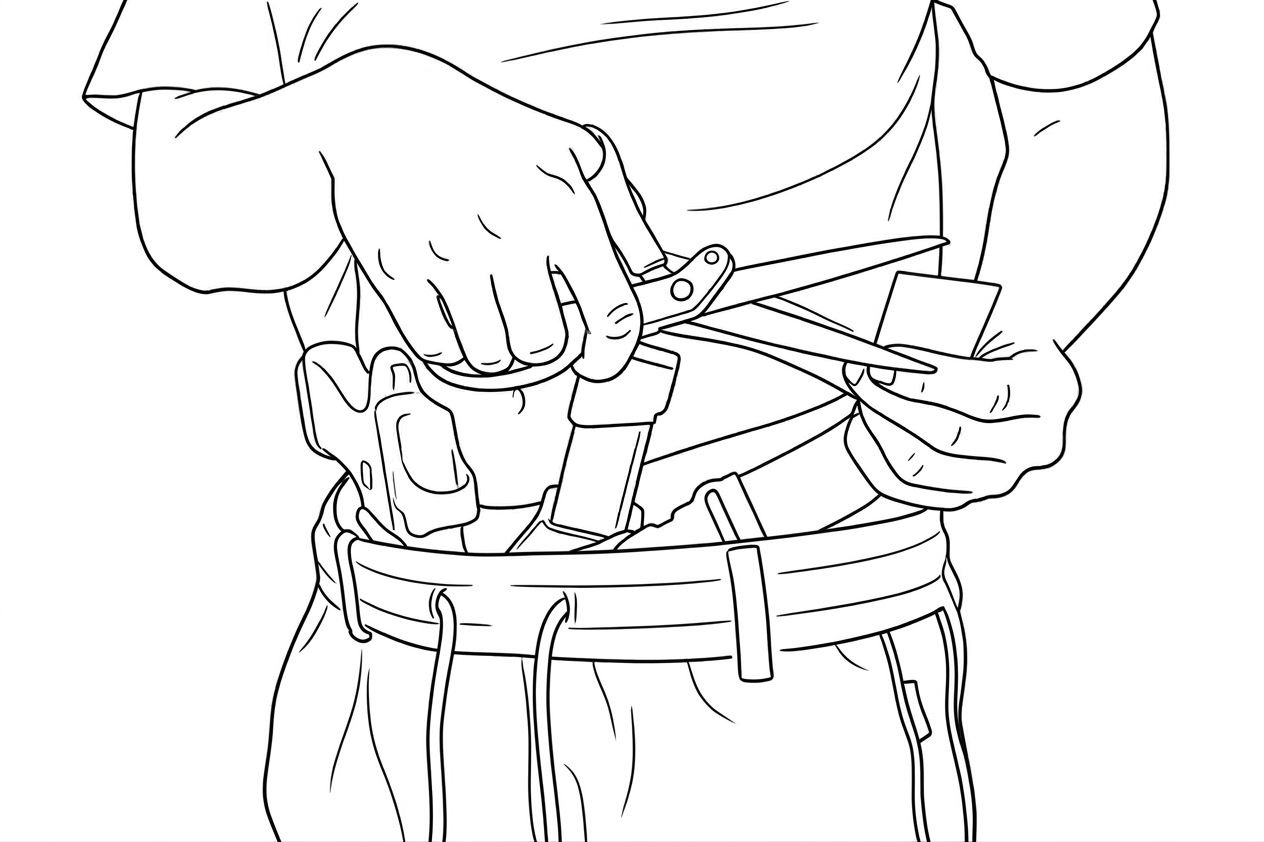
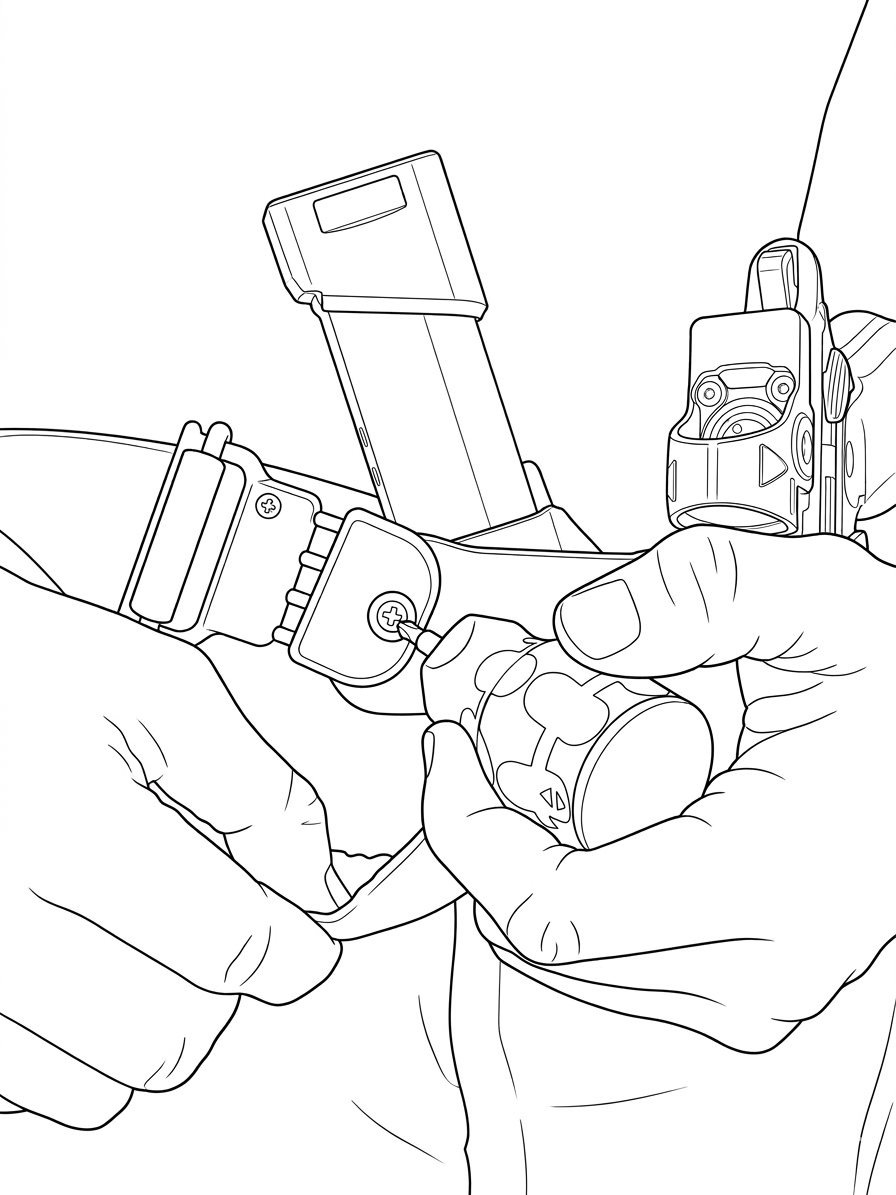
The Concealment Labs belt is designed to contour to your natural waistline for the best fit. To achieve optimal adjustment, first loosen the screws on both ends of the belt just enough to allow them to pivot freely. Wrap the belt around your waist where your pants typically sit, then attach your holster and pistol. Once your holster and pistol are in place, adjust the hinges of the buckles to achieve a comfortable and natural fit. When you’re satisfied with the positioning, FIRMLY hand tighten the screws to secure them in place. To limit the possibility of screws backing out you are free to apply small amounts of thread locker to the threads. It is highly recommended that you apply the provided Vibra-Tite Vc-3 Threadmate before wearing.
Wearing Your Liner.
Our Concealment Labs belts are specifically designed for carrying a pistol rig AIWB, lining the inside of your pants. Before wearing ensure that all the screws are tight. Not using your belt as intended may cause excess wear and damage to the belt.
* All belts are delivered flat from the factory, you will need to allow your Tegris Frame to conform to your waist and holster setup for best results.
*Due to the thin profile of the Concealment Liner, the best retention is achieved by using holster clips that create firm, positive contact and pressure on the frame or the clip itself. If the clip does not fully index and lock around the Tegris frame with proper engagement, there is a risk that the holster could come out with the firearm during the draw. Please see our clip guide below.
Maintaining Your Liner.
It is important to inspect the condition of your belt before use. Ensure that all the screws are tight. Not using your belt as intended may cause excess wear and damage to the belt. Wear on the TEGRIS plate caused by holster wear is normal.
The Concealment Liner is built to last, but like any piece of gear, it will show natural signs of use:
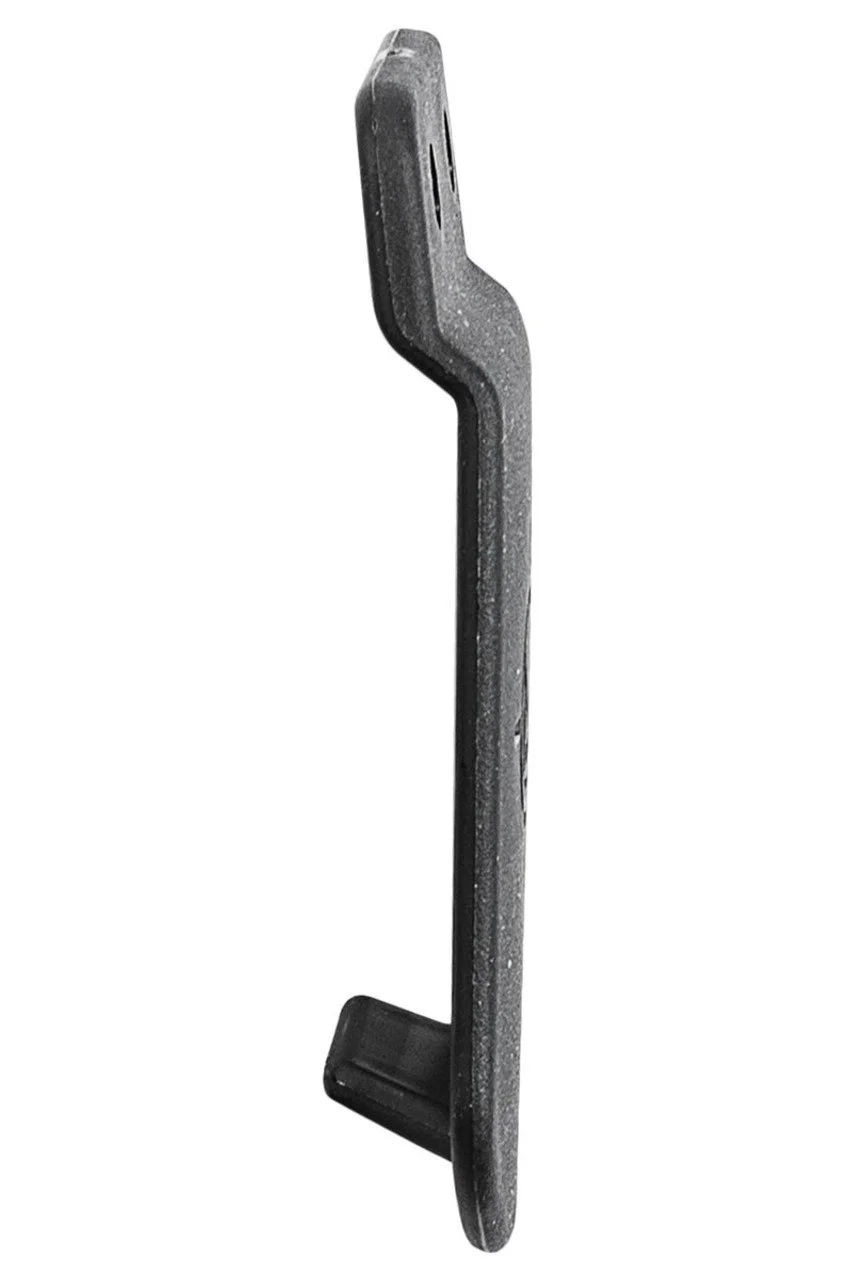
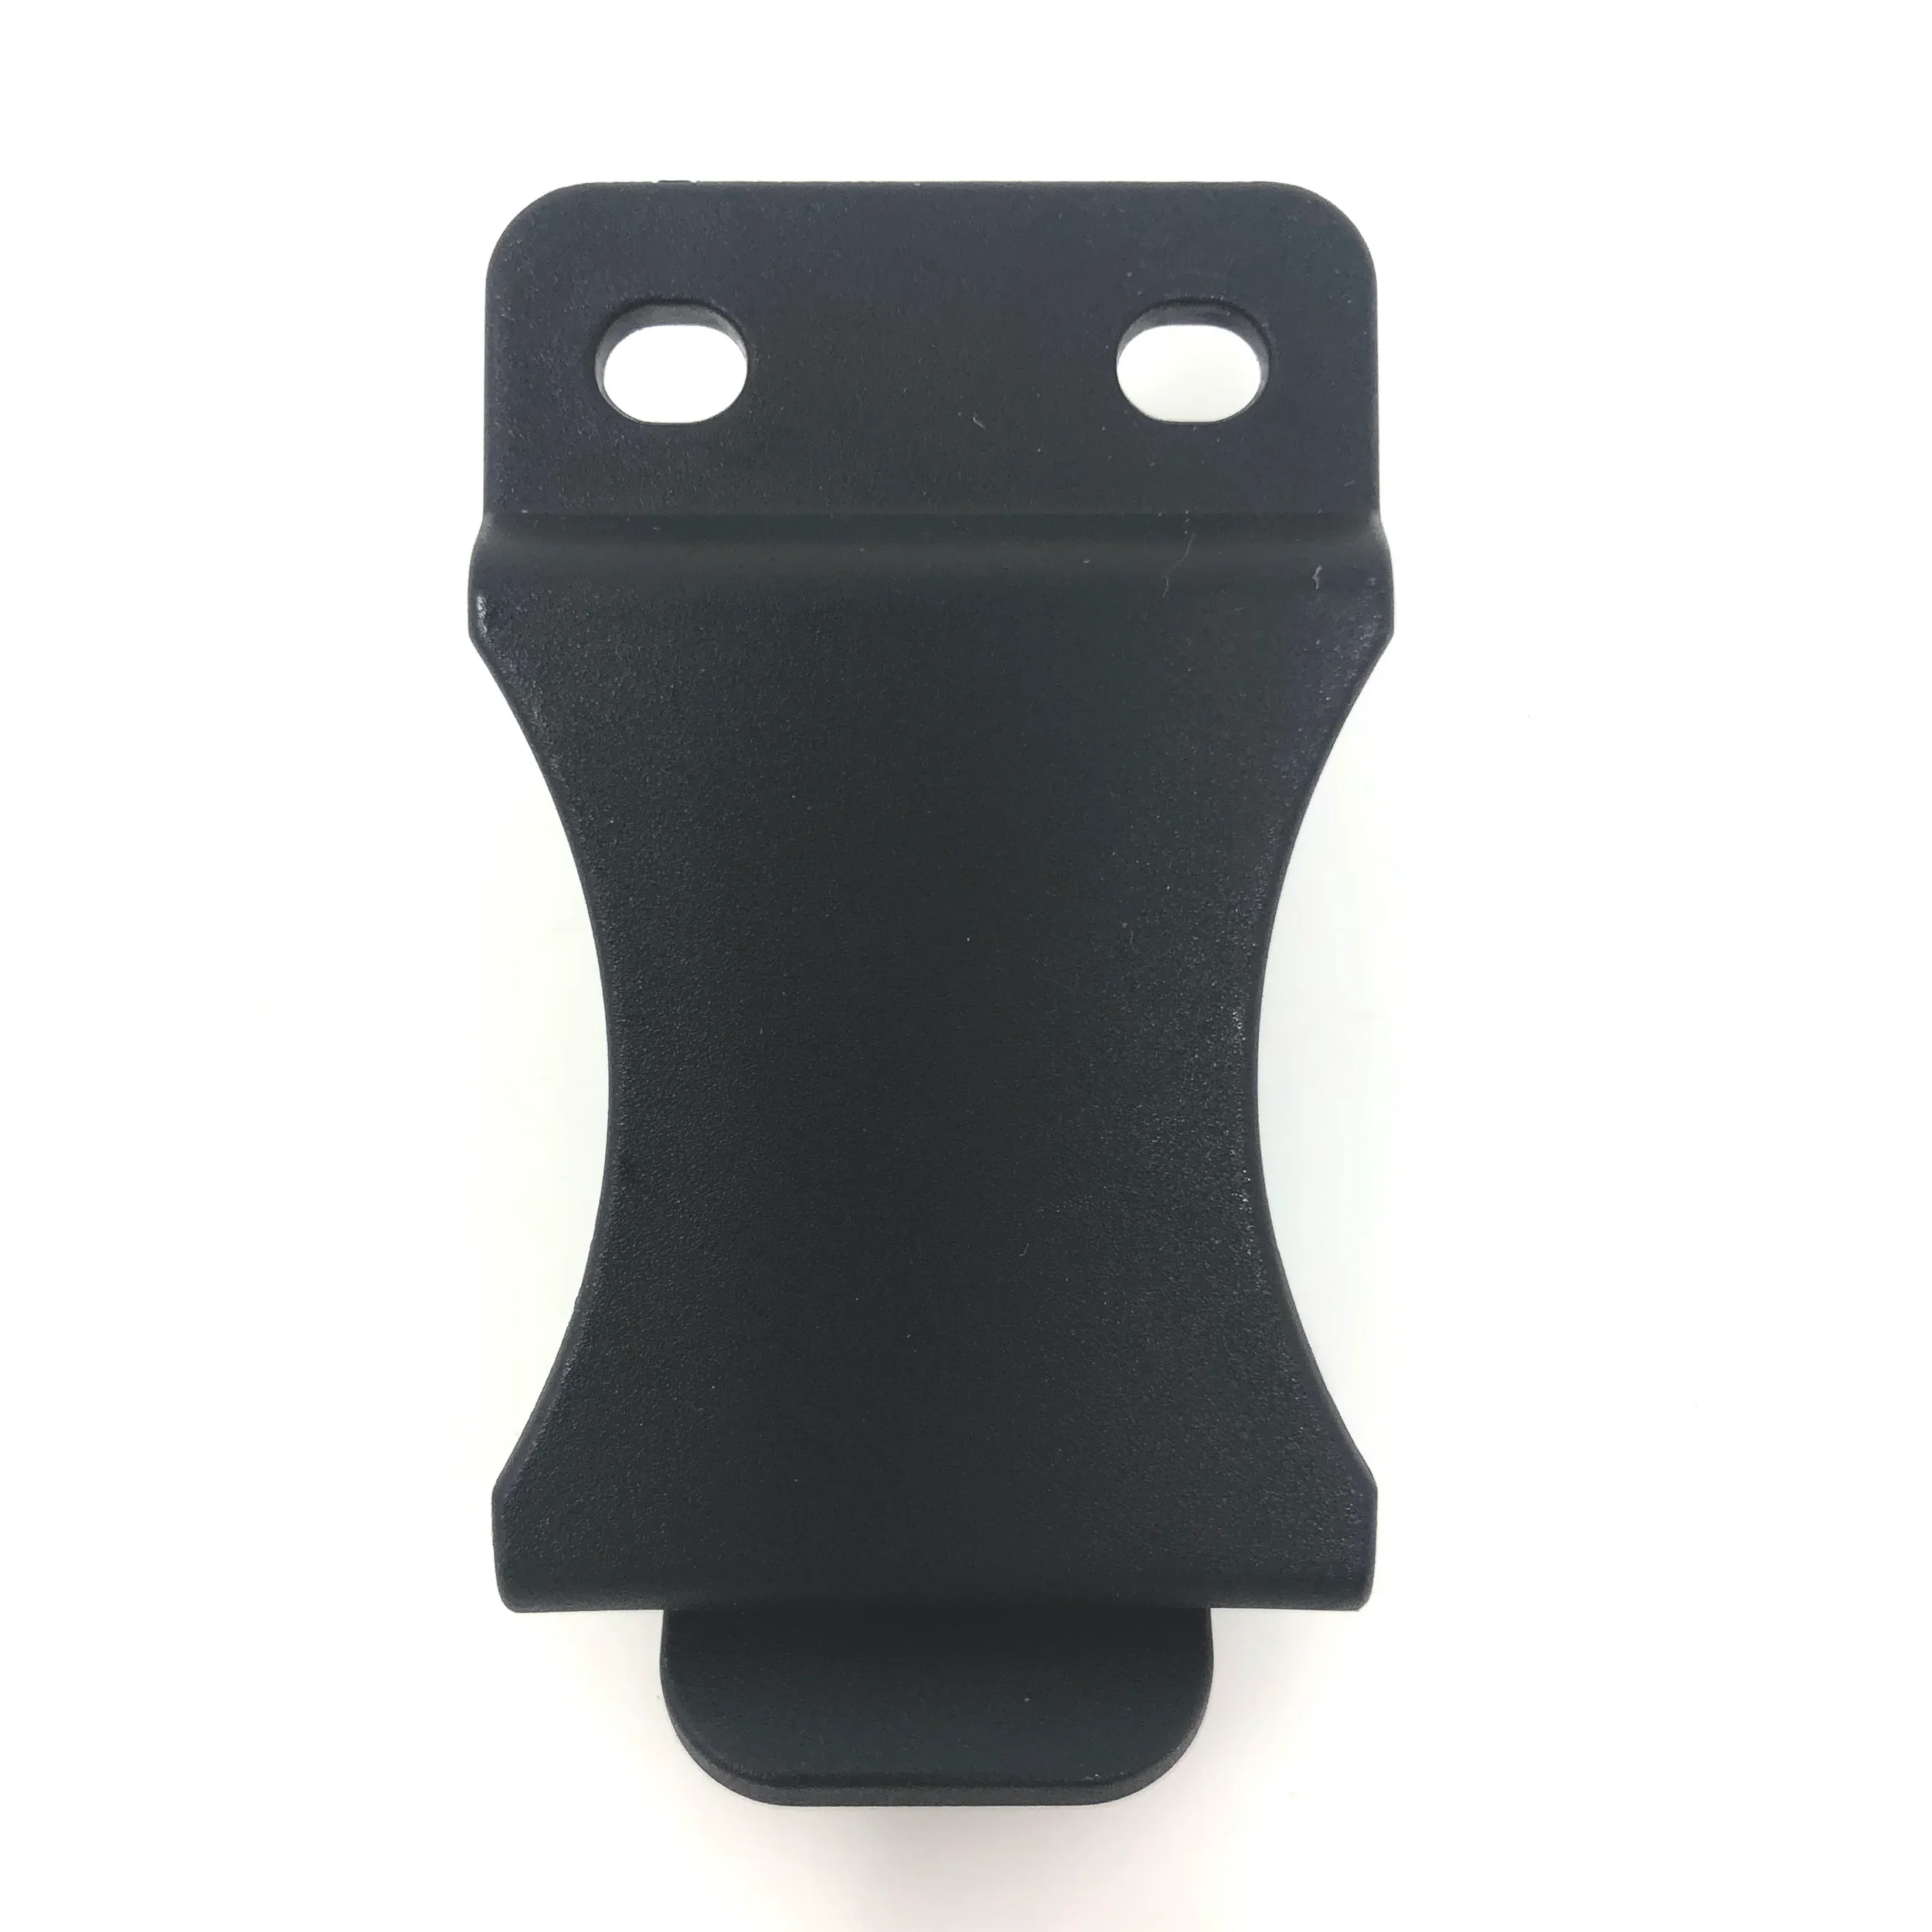
Tegris Frame
Tegris is chosen for its strength and durability. With regular use, it may show surface scuffs, scratches, or even light fraying along the edges. This is cosmetic and does not impact the structural integrity of the liner.Shock Cord
The shock cord may gradually develop fuzzing with continuous use; this is normal and expected over time. With proper care, its lifespan is long, but we designed the liner so the shock cord can be easily replaced by the user when needed. This intentional design choice extends the overall life of the liner and ensures it keeps performing reliably for the long term.Consider replacing the shock cord if you notice any of the following:
The elastic core is cut, exposed
The cord feels “flat” or weak instead of springy.
The woven outer sheath is torn completely open or heavily frayed.
How to Reduce “wear and tear” on your Concealment Liner.
Like all high-performance gear, your Concealment Liner will naturally show signs of use over time. However, there are a few simple habits that can greatly extend its lifespan and keep it performing like new:
Index your clips over your pants.
When using metal holster clips, position them so the clip sits over your pants fabric rather than directly on the Tegris frame. This reduces friction and prevents unnecessary rubbing or surface wear on the Tegris material.Keep it clean and dry.
Wipe away sweat, debris, and moisture after use. This prevents buildup that can accelerate material fatigue over time.Avoid unnecessary flexing or bending.
The Tegris frame is designed to flex naturally around your waist during daily carry, avoid intentionally bending, folding, or twisting it when not in use. Repeated or uneven pressure can create stress points over time.Maintain your Tegris frame.
If you notice frays or stringing along the Tegris edges, you can carefully trim them with a blade and lightly melt the edge with a lighter to clean it up. This helps prevent further fraying and keeps your liner looking fresh. (Be cautious not to overheat or distort the surface.)
Need more hardware?
CONCEALMENT TIPS
Holster Clip Selection
Holster clips are not just accessories — they are the direct connection between your holster, the Concealment Liner, and your clothing. A proper clip provides positive engagement, meaning it fully wraps and locks onto the Tegris frame, creating secure pressure.
If a clip only presses against the holster body instead of locking around the frame, it may leave weak retention due to inadequate clip to holster body contact. In that case, the holster may come out with the firearm during the draw. This is why choosing the right clip is essential for both safety and performance.
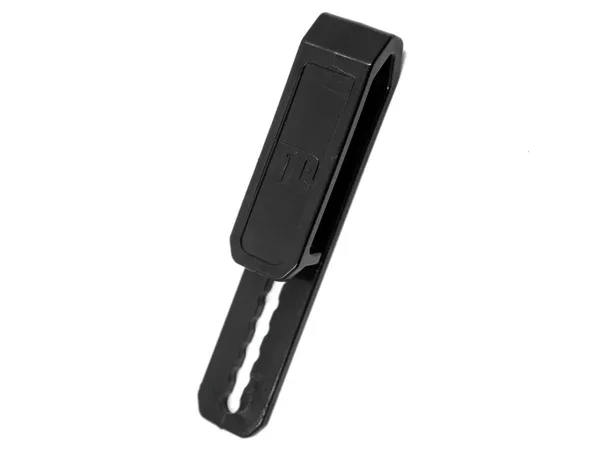
Recommended Clip Styles
The best results come from clips that wrap securely around the frame and apply firm pressure. Due to their design, regardless of how they are mounted on the holster, their contact point remains the same. These styles work best with the Concealment Liner:
“Tuck-able” steel clips – Slim and rigid, designed to lock tightly onto the frame.
“Tuck-able” Reinforced polymer clips – Strong, durable, and flexible enough for comfort, while still biting onto the frame.
Clips to Avoid
Some clips don’t provide enough engagement with the liner. These designs rely mostly on pressing against the holster body, opens the possibility weak retention and increases the chance of the holster pulling free with the firearm.
Avoid these clip styles:
Flat plastic clips – Only use surface contact, no real lock on the frame.
Thin or overly flexible clips – Bend under stress, losing tension and reliability.
*While these clips are not recommended, they may still function if there is strong, positive contact between the clip and the holster body.
Clothing Considerations
If you choose to index your clips not only on the Tegris frame but also around your clothing, fabric choice becomes a key factor.
Stiff fabrics (like thick denim or workwear) may not conform easily to the frame. Unless the clip applies strong enough pressure, retention can be compromised.
Flexible fabrics (like athletic wear) usually conform more easily, allowing the clip to seat securely around both the frame and the material.
When clipping over clothing, always check that the clip fully bites into the frame and isn’t being held out by stiff fabric. Stronger clip designs will make the biggest difference here.
How to Test Your Setup
Mount the holster – Attach it using your chosen clips.
Check engagement – Ensure the clip visibly locks over the Tegris frame (and your clothing, if indexing both).
Retention pull test – Tug upward on the holster; it should stay firmly in place.
Draw test – Perform a slow draw; the firearm should release cleanly while the holster remains fixed.
Re-test with your clothing – Try it with the pants or shorts you actually wear most. This ensures your real-world setup is reliable.
Recommended Holster Clip Styles

Not Recommended Holster Clip Styles
Choose a Purpose-Built Holster That Works With Your Body
A good concealed carry setup starts with a holster designed for both safety and concealment. It should fully cover the trigger guard, retain your firearm securely in all positions, and allow for a smooth, predictable draw. Most importantly, your holster should work with your body shape and movement, not against it. A poorly chosen holster will either print too much, cause discomfort, or make drawing inconsistent—none of which you want in a high-stress situation.
Here at Concealment Labs we almost always recommend choosing holsters made of solid materials such as Kydex.
Master Your Concealment Position
Where you place your firearm drastically impacts comfort, concealment, and speed of access. While appendix carry (AIWB) works best for most body types, small adjustments up, down, left, or right can make a huge difference. Your goal is to find a position where:
✔️ The gun stays naturally concealed without extreme effort.
✔️ Sitting, walking, and bending don’t cause discomfort.
✔️ You can draw efficiently without excessive body movement.
Your optimal carry position is unique to you—so experiment with minor adjustments daily, not just once. A small tweak today can make all the difference in comfort over time.
Leverage Your Body’s Natural Geometry for Better Concealment
Firearms aren’t naturally shaped to disappear under clothing, but your body can help. Instead of just tightening your belt and hoping for the best, use concealment mechanics like:
🔹 Angling the grip inward (with a holster claw) to tuck it against your body.
🔹 Using a wedge to adjust how the gun sits against your abdomen, reducing pressure points.
🔹 Positioning it along a natural curve in your body (e.g., in the crease between hip and torso).
These small tricks make your carry setup disappear naturally, without the need for baggy clothing or awkward stances.
Reholstering: A Slow and Careful Process
One of the most overlooked parts of concealed carry is how you reholster. While drawing is about speed, reholstering is about safety. Always:
✔️ Take your time—rushing to holster after an engagement can cause negligent discharges.
✔️ Remove obstructions—loose clothing or drawstrings can get caught in the trigger.
✔️ Tilt your hips away from the firearm, ensuring that the muzzle never points at your body.
A careless reholster can lead to serious injury or worse. Take your time—no one is timing your reholster in real life.
Dry Fire and Concealed Carry Drills = Confidence Under Pressure
Real skill comes from consistent, structured practice. Dry fire training (unloaded practice) is the best way to build habits without range time. Focus on:
✔️ Drawing from concealment (smoothly, not just fast).
✔️ Clearing cover garments reliably.
✔️ Building muscle memory so you don’t have to “think” about your draw.
The best concealed carriers are the ones who practice. Confidence comes from preparation.
Know the Law—It’s Your Responsibility
Carrying a firearm isn’t just about self-defense—it’s about understanding your legal obligations. The laws on carrying, brandishing, and self-defense vary by state and even city, so make sure you know:
✔️ Where you can and can’t carry.
✔️ What constitutes justifiable use of force in your area.
✔️ Your responsibility to de-escalate when possible.
If you don’t know the law, you’re putting yourself at unnecessary risk.
Clothing Choice
Good concealment doesn’t require oversized clothing—it requires smart clothing choices. To minimize printing:
✅ Stick to darker colors and patterns—they break up outlines better than solid light colors.
✅ Opt for slightly looser but structured shirts—tight fabric shows the gun’s shape, but baggy clothing looks unnatural.
✅ Consider layering (flannels, light jackets, etc.), but practice drawing from these setups so they don’t slow you down.
Your clothing should work with your concealment, not against it.
Comfort is an Investment—Fine-Tune Your Setup Over Time
Your carry setup should be comfortable enough that you actually wear it every day. If your gear is digging, shifting, or causing irritation, don’t just accept it—adjust, modify, or upgrade. Concealed carry is a long-term commitment, and dialing in your setup over time makes it sustainable.